
Very often on a forum, the size of the reducepicture that are published is often very limited. However, recent digital cameras generate images of very high resolution and therefore quite heavy in terms of weight. It is therefore necessary to reduce the size of its images while limiting the loss of quality.
Here I propose the detailed procedure using the photo editing software the Gimp. This very complete software is free and open-source.
This tutorial is beginner level.
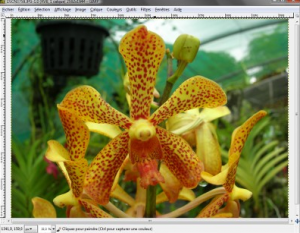
The starting photograph (an orchid) originates from a digital device offering a resolution of 2592×1944 pixels (5m) for a weight of 960 KB.
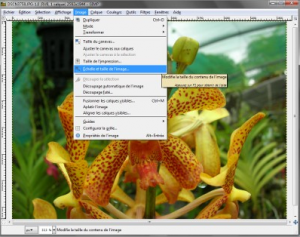
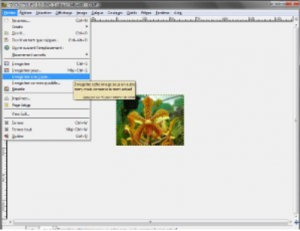
First click on the menu “image ” and then on “scale and size of the image”
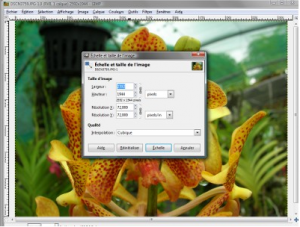
A window then opens and the following information is obtained:
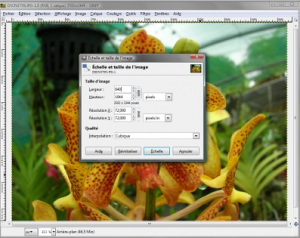
A convenient photo size to publish an image on a forum is 640×480. Just type a width of 640 instead of 2592. No need to change the height, it will be automatic because the small icon on the right in the form of a chain indicates that the aspect of the image will always be respected. Then click on the “scale” and the image is automatically reduced.
We just need to save our resized image.
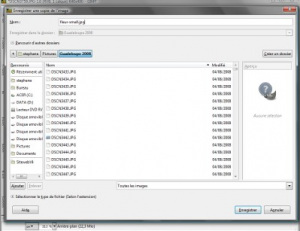
Click on “file ” and then “save a copy ” so as not to overwrite the original image.
We type the name of the file (here: fleur-Small. jpg). Be careful not to forget the extension “. jpg ” in lowercase.
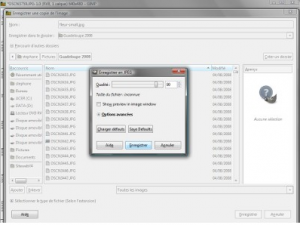
Finally, we choose the quality of the JPG compression. 90 is a good compromise that does not degrade the image too much.
And voila, the trick is played.
An image of 640×480 resolution Pixels is obtained for a weight of 91.3 KB (10 times less than the initial image).